Not everyone can afford to pay hefty amounts of money for a recording session, especially when it comes to budding artists. Whether you are setting up your space to record vocals or want a recording studio to mix and refine your music the way you feel is right, learning the basics of recording will help you execute each step with perfection. Here are 7 basic steps that can be followed to set up everything with ease and start recording within no time.
Know Your Purpose
Before we start listing the steps, you need to understand what you specifically want to record in the studio. Knowing your purpose will help in making the right choice that directly improves the results. Don’t rush, and take your time in deciding which equipment will suit you the most. The right way is to research a bit before you make a purchase. After you have made up your mind, follow the steps mentioned to set up everything accordingly.
Buying Recording Equipment
In today’s tech-savvy market, there are a plethora of options available when it comes to buying recording equipment and gear. There are a variety of choices alongside an affordable price tag. Here is the necessary equipment you need to purchase.
Microphones
An essential part of any recording setup that should be chosen carefully. Several microphone types are catering to specific requirements. So make sure to do your homework before you make a purchase.
Audio Interface
An audio interface acts as a bridge between your gear and the computer you will use for editing, mixing, and tweaking your recordings. As explained by the folks at www.homestudioexpert.com, the audio interface connects to virtually every essential gear like microphones, guitar cables, output speakers, and much more. A simple USB connection connects the device to your PC or laptop. To know more about it, you can browse the internet to find relevant information and guides to set up your studio. Gathering information is necessary, as the more you know about this stuff, the better outcomes you get in terms of quality.
Digital Audio Software
One of the essential parts is used to mix and finalize the recordings on your PC. You will be using the digital workstation to refine your work and turn it into something amazing. Most software out there can do the job perfectly as long as you know how to use it accordingly.
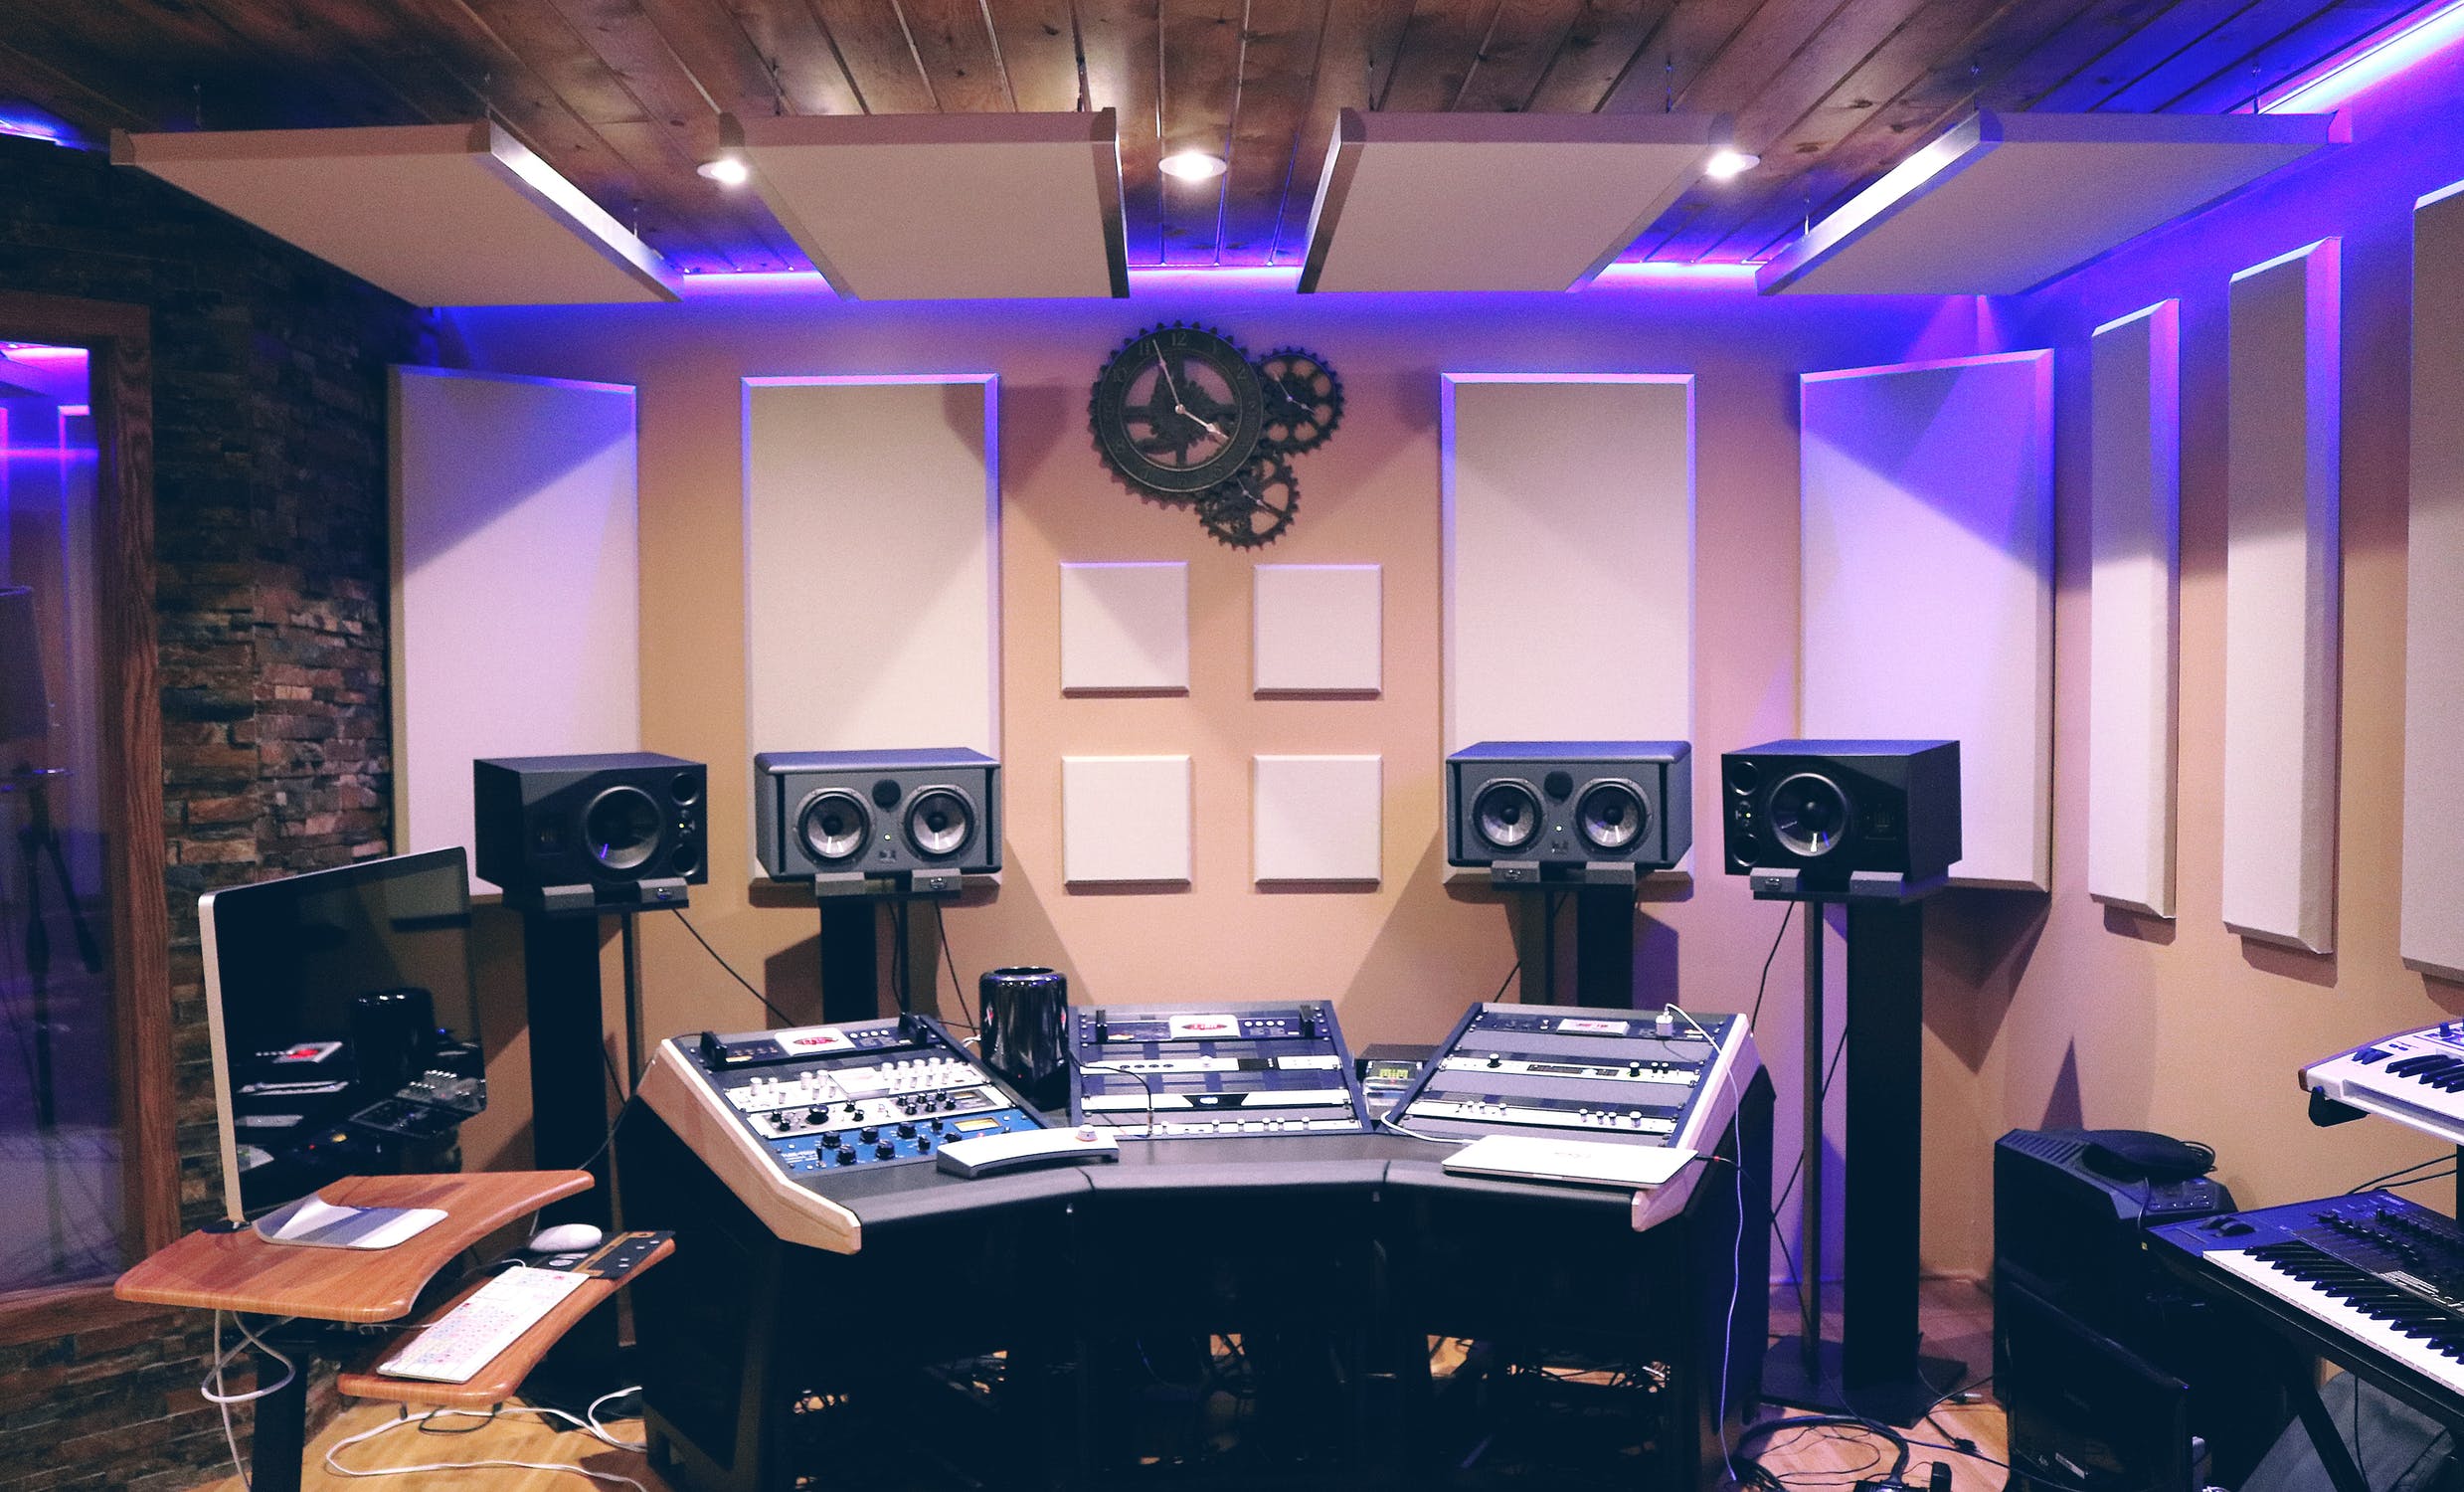
Output Speakers
You need to listen to your recordings loud and clear at every step of the post-recording process. Also called studio monitors as they help evaluate the recordings. However, placement of the ‘monitors’ is crucial, as wrong placement can change what you hear. A simple alternative is to buy headphones if you are a lone wolf making tunes by yourself.
Setting Up Your Studio
To set your gear up, all you need to do is install the digital software you feel comfortable operating. After installation, plug in your audio interface to the computer and connect the microphone alongside other inputs to the interface. Lastly, check the mic levels and adjust them with your software. Try checking the power outlet if you are unable to get any response, or read the instruction manual that came along with the mic.
Recording
Let’s take the example of a song recording to get to know what steps are essential while you record. Using your digital software, adjust the tempo and start recording the instruments and vocals one by one. This will help in layering every instrument easily when mixing the track. You can tweak up the final recorded track by adding or removing various instruments with ease.
Editing
In this step, you will review your recorded track and look for any composing errors, the arrangement of instruments, removing background noises (noise reduction), and pitch adjustment. Go through the track several times before you go to the next step.
Mixing
After you are done editing, you have to work on several things like faders, equalization, panning, reverb, and relevant mixing tasks before you move to the last step.
Mastering
The last step involves compiling the final tracks into a single file. It is a simple process where the track is polished using techniques like stereo widening, playback levels, and faders to name a few. Once you are satisfied with the results, convert the file into your desired format and you’re good to go.
The steps mentioned above don’t touch on specific details of each step. It is necessary to understand every step of the process, as little knowledge can affect the quality of your work despite the effort you put in. Moreover, each step requires a level of skill that might not be possible for everyone to achieve. So, don’t hesitate to get help from fellow music producers and artists for the best results.